---
title: Legacy Neon Auth with Stack Auth
subtitle: For existing users only (not available for new projects)
enableTableOfContents: true
tag: archived
updatedOn: '2025-12-12T13:16:11.675Z'
redirectFrom:
- /docs/neon-auth/overview
- /docs/neon-auth/claim-project
- /docs/neon-auth/create-users
- /docs/neon-auth/api
- /docs/guides/neon-auth-claim-project
- /docs/guides/neon-auth-api
---
Legacy Neon Auth with Stack Auth is no longer available for new projects but remains fully supported for existing users. See our [migration guide](/docs/auth/migrate/from-legacy-auth) to upgrade to Neon Auth with Better Auth.
## What is legacy Neon Auth?
Neon Auth brings authentication and user management natively to your Neon Postgres database.
### Why use Neon Auth?
Neon Auth helps you move faster by handling the auth stack for you:
- **Add auth to your app in minutes** — SDKs for Next.js and React
- **No more custom sync code** — user profiles are always up-to-date in your database, ready for SQL joins and analytics.
- **Built-in support for teams, roles, and permissions**.
## How it works
When you set up Neon Auth, we create a `neon_auth` schema in your database. As users authenticate and manage their profiles in Neon Auth, you'll see them appear in your list of users on the **Auth** page.
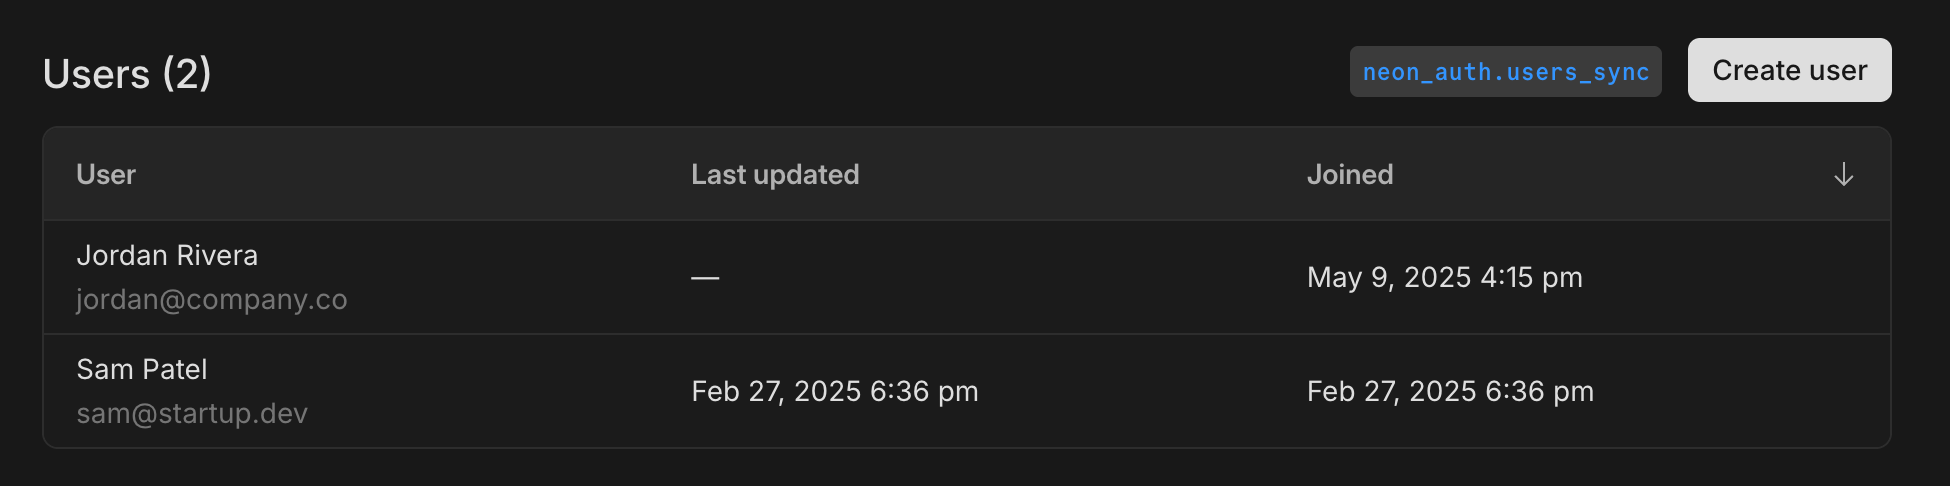
**User data is immediately available in your database**
User data is available in the `neon_auth.users_sync` table shortly after the Neon Auth processes the updates. Here's an example query to inspect the synchronized data:
```sql
SELECT * FROM neon_auth.users_sync;
```
| id | name | email | created_at | updated_at | deleted_at | raw_json |
| ----------- | ------------- | ----------------- | ------------------- | ------------------- | ---------- | -------------------------------- |
| d37b6a30... | Jordan Rivera | jordan@company.co | 2025-05-09 16:15:00 | null | null | `{\"id\": \"d37b6a30...\", ...}` |
| 51e491df... | Sam Patel | sam@startup.dev | 2025-02-27 18:36:00 | 2025-02-27 18:36:00 | null | `{\"id\": \"51e491df...\", ...}` |
The following columns are included in the `neon_auth.users_sync` table:
- `raw_json`: Complete user profile as JSON
- `id`: The unique ID of the user
- `name`: The user's display name
- `email`: The user's primary email
- `created_at`: When the user signed up
- `deleted_at`: When the user was deleted, if applicable (nullable)
- `updated_at`: When the user was last updated, if applicable (nullable)
Updates to user profiles in Neon Auth are automatically reflected in your database.
Do not try to change the `neon_auth.users_sync` table name. It's needed for the synchronization process to work correctly.
For detailed integration patterns, foreign key examples, and best practices, see [Database Integration](/docs/auth/legacy/database-integration).
## Environment variables and SDK keys
To use Stack Auth with your Neon project, you need these environment variables:
```env
NEXT_PUBLIC_STACK_PROJECT_ID=your-project-id
NEXT_PUBLIC_STACK_PUBLISHABLE_CLIENT_KEY=your-client-key
STACK_SECRET_SERVER_KEY=your-server-secret
```
### Getting your keys
You can get these keys from the Neon Console **Auth** page, or by using the Neon API.
Generates SDK keys for your auth provider integration. These keys are used to set up your frontend and backend SDKs.
Required parameters:
- `project_id`: Your Neon project ID
- `auth_provider`: The authentication provider (currently `"stack"`)
```bash shouldWrap
curl --request POST \
--url 'https://console.neon.tech/api/v2/projects/auth/keys' \
--header 'authorization: Bearer $NEON_API_KEY' \
--header 'content-type: application/json' \
--data '{
"project_id": "project-id",
"auth_provider": "stack"
}' | jq
```
Example response:
```json shouldWrap
{
"auth_provider": "stack",
"auth_provider_project_id": "project-id-123",
"pub_client_key": "pck_example...",
"secret_server_key": "ssk_example...",
"jwks_url": "https://api.stack-auth.com/api/v1/projects/project-id-123/.well-known/jwks.json",
"schema_name": "neon_auth",
"table_name": "users_sync"
}
```
[Try in API Reference ↗](https://api-docs.neon.tech/reference/createneonauthprovidersdkkeys)
## Claiming your Stack Auth project
Neon Auth is powered by Stack Auth under the hood. By default, Neon manages your authentication for you, so you do not typically need to interact with Stack Auth directly. However, there are cases where you may want to take direct control of your authentication project in the Stack Auth dashboard.
### Why claim a project?
Most Neon Auth features can be built using the SDKs, without claiming your project.
Right now, you need to claim your project if you want to:
- Add or manage OAuth providers (register client IDs/secrets, set callback URLs)
- Enable production mode and enforce production security settings
- Manage multiple projects or separate production and development environments directly in Stack Auth
### Claim via the Neon console
1. Go to your project's **Auth** page, **Configuration** tab in the Neon Console.
2. Click **Claim project** in the Claim project section.
3. Follow the prompts to select the Stack Auth account that should receive ownership.
After claiming, you'll have direct access to manage your project in the Stack Auth dashboard, while maintaining the integration with your Neon database.
You can also find your current project ID here, as well as the JWKS URL you need to set up [RLS in your Neon Auth project](/docs/auth/legacy/database-integration#row-level-security-rls).
### Claim via the API
You can also claim your project programmatically:
```bash
curl --request POST \
--url 'https://console.neon.tech/api/v2/projects/auth/transfer_ownership' \
--header 'authorization: Bearer $NEON_API_KEY' \
--data '{
"project_id": "project-id",
"auth_provider": "stack"
}'
```
Open the returned URL in your browser to complete the claim process.
See [Neon Auth API Reference](https://api-docs.neon.tech/reference/transferneonauthownership) for more details.
After claiming, you'll still be able to access your project from the Neon Console, but you'll also have direct access from the Stack Auth dashboard.
## Migrating to Neon Auth with Better Auth
Ready to upgrade to Neon Auth with Better Auth? See our comprehensive [migration guide](/docs/auth/migrate/from-legacy-auth).
### Benefits of upgrading
- **Native branching support** - Auth branches automatically with your database
- **Simplified configuration** - One URL instead of four keys
- **Direct database access** - No webhooks, no sync delays
- **Open-source foundation** - Built on Better Auth
### Migration guide includes
- Side-by-side code comparisons
- Package and component replacements
- Environment variable updates
- Step-by-step instructions
[View Migration Guide →](/docs/auth/migrate/from-legacy-auth)
## Additional resources
### Stack Auth documentation
For SDK documentation, components, hooks, and client-side authentication:
- [Stack Auth Official Docs](https://docs.stack-auth.com)
- [Stack Auth Components](https://docs.stack-auth.com/sdk/components)
- [Stack Auth API Reference](https://docs.stack-auth.com/api)
### Neon technical docs
- [Database Integration](/docs/auth/legacy/database-integration) - Technical reference for `users_sync`, backend auth, RLS
- [Migration Guide](/docs/auth/migrate/from-legacy-auth) - Upgrade to Neon Auth with Better Auth
- [Neon Auth](/docs/auth) - Current Neon Auth with Better Auth